
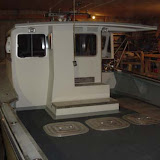
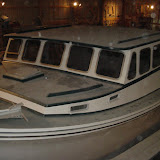
 I like the old days when a bucket would be an acceptable plumbing system for the head. Click on this picture to zoom in and really appreciate the amount of clamps, clips, and fittings in this system. So the toilet lives through the door to the right of this photo. One 3/4" seacock will supply the water to the bowl. The waste or "black water" will travel through a 1.5" hose to the black Y-valve tucked to the right (slightly blocked in this photo). This valve can divert the black water to the holding tank (large white square) or directly into the ocean (first through a bronze Y-valve then through a 2" seacock). If the black water is sent to the holding tank eventually after 25 gallons of flushes it will have to be emptied. The second Y-valve (black valve center) will send the black water to a macerator pump (where it is chopped up and pumped into the ocean) or send it to a deck plate in the side deck of the boat where it can be vacuumed out at a marina into a waste facility. That does it for the "black water" system but the boat need to be outfitted with a "grey water" system as well. Grey water can be classified as any dirty water that didn't come from the toilet (sink and shower water). Both sinks drains and the shower drain send the water into an aluminum holding tank (not pictured). This tank has a valve on it and once it is full the water is routed to a sump pump that will send all the grey water overboard. Getting all these hoses and valves to fit in this small area took a little bit of planning but once it was all mapped out Jeff did an excellent job with the installation.
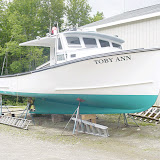
 To install the PVC rub rails and toe rails all the rails needed to be drilled with a countersink to accept the stainless steel hardware that would be used (toe rail #10 screws, rub rail #12 screws). The rails are then cut to length and held in place by 2-4 employees while someone drill holes (5/32nds for #10 and 3/16ths for #12) and drives screws to pin the rail down. Once all the rails are in place we trace the rail with pencil and take all the screws out and take the rails off the boat. White 5200 marine sealant is applied along the edge of the pencil line and over all the holes and then the rails are put back on the boat. Next all the 5200 that squeezed out from behind the rail needs to be scraped off with plastic scrappers (95 percent) and wiped off with paint thinner until all the extra 5200 has been removed. The final step will be fastening the stainless steel flat bar over all the exposed screw holes.
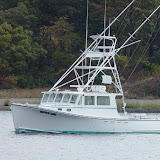
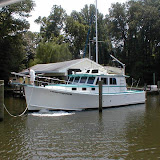
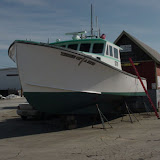
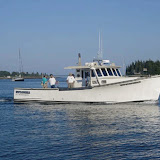
The Bermuda boat owner started a thread on a discussion board on Noreast.com. (click the blue to check it out). I also got an email today about a 23' lobster boat. God bless the internet.


2 comments:
Thank you again for all the knowledge u distribute,Good post. I was very interested in the thread, it's quite inspiring I should admit. I like visiting you site since I always come across interesting threads like this one.Great Job, I greatly appreciate that.Do Keep sharing! Regards,
Regards: Valve
Post a Comment